Welcome to the official Microsoft Teams Handbook! In today’s fast-paced and interconnected world, effective communication and collaboration are vital for success. Microsoft Teams has emerged as a powerful tool that brings individuals and teams together, enabling seamless communication, file sharing, and project collaboration. Whether you’re a beginner or an experienced user, this cheat sheet will serve as your go-to resource for mastering Microsoft Teams.
In this comprehensive guide, we will explore the basics of Microsoft Teams, including how to navigate the interface, understand the menu bar, and make the most of the search function. We will then delve into the various communication features available in Teams, such as using chat for direct messages, creating and managing team channels, and conducting video calls and meetings.
Collaboration is at the heart of Microsoft Teams, and we will show you how to effectively share and collaborate on files, utilize the Planner for task management, and seamlessly integrate with other Microsoft apps to streamline your workflow.
To enhance your Teams experience, we have also compiled a collection of tips and tricks. Discover useful keyboard shortcuts to navigate Teams more efficiently, learn how to customize your workspace to suit your preferences, and master the art of managing notifications to stay focused and productive.
Whether you’re a remote worker, a project manager, or a team leader, this Microsoft Teams Handbook will equip you with all the knowledge and skills you need to maximize your productivity and collaboration potential. So, let’s dive in and unlock the full potential of Microsoft Teams!
Understanding the Basics: Introduction to Microsoft Teams
Microsoft Teams has revolutionized the way individuals and teams communicate and collaborate in today’s digital age. In this section, we will provide you with a comprehensive introduction to Microsoft Teams, covering its purpose, features, and benefits.
What is Microsoft Teams?
Microsoft Teams is a collaborative platform that combines chat, video meetings, file sharing, and project management into a single, integrated solution. It is part of the Microsoft 365 suite of productivity tools and is designed to streamline communication and enhance collaboration within organizations of all sizes.
Key Features of Microsoft Teams
- Chat: Microsoft Teams offers a robust chat feature that allows individuals and teams to have real-time conversations. Users can send instant messages, share files, and even have private one-on-one or group chats.
- Channels: Teams are organized into channels, which act as dedicated spaces for specific projects, departments, or topics. Channels provide a centralized location for team members to collaborate, share files, and communicate.
- Video Calls and Meetings: Microsoft Teams supports video calls and meetings, enabling face-to-face communication even when team members are geographically dispersed. Users can conduct virtual meetings, share screens, and collaborate on documents in real-time.
- File Sharing and Collaboration: Teams simplifies the process of file sharing and collaboration. Users can upload, store, and share files within channels, making it easy for team members to access and collaborate on documents simultaneously.
- Integration with Microsoft Apps: Microsoft Teams seamlessly integrates with other Microsoft apps such as Word, Excel, PowerPoint, and SharePoint, allowing users to work on documents directly within the Teams interface.
- Third-Party App Integration: Teams also offers integration with a wide range of third-party apps and services, enabling users to bring external tools and resources into their Teams environment.
Benefits of Using Microsoft Teams
- Improved Communication: Microsoft Teams provides a centralized platform for communication, eliminating the need for scattered emails and disjointed conversations. It enables real-time communication, fostering collaboration and ensuring everyone stays on the same page.
- Enhanced Collaboration: With features like file sharing, co-authoring, and project management tools, Teams facilitates seamless collaboration among team members. It allows individuals to work together on documents, track progress, and stay organized.
- Increased Productivity: By consolidating communication, collaboration, and project management in one place, Teams helps streamline workflows and reduce time spent switching between different tools. This leads to increased productivity and efficiency.
- Remote Work Capabilities: Microsoft Teams is especially valuable for remote teams or organizations with a distributed workforce. It enables remote workers to stay connected, collaborate effectively, and maintain a sense of camaraderie, regardless of physical location.
- Security and Compliance: Microsoft Teams adheres to stringent security and compliance standards, ensuring that sensitive information is protected. It offers features like data encryption, multi-factor authentication, and compliance with industry regulations.
Now that you have a solid understanding of what Microsoft Teams is, its key features, and the benefits it offers, let’s explore how to navigate the Teams interface in the next section.
How to Navigate Microsoft Teams Interface
Navigating the Microsoft Teams interface is essential for efficiently using the platform and accessing its various features. In this section, we will provide you with a step-by-step guide on how to navigate the Microsoft Teams interface effectively.
Exploring the Teams Dashboard
- Home: The Home tab is the default landing page when you open Microsoft Teams. It provides an overview of your activity feed, including recent conversations, mentions, and notifications.
- Teams: The Teams tab displays all the teams you are a part of. It allows you to access different channels within each team, view conversations, and collaborate with team members.
- Channels: Within each team, you can find various channels that represent different topics or projects. Channels provide a focused space for discussions and collaboration.
- Chat: The Chat tab lets you access your individual and group chats. It displays your recent conversations and allows you to continue ongoing discussions.
- Meetings: The Meetings tab provides an overview of your upcoming meetings and allows you to schedule new meetings, join scheduled meetings, and access meeting recordings.
- Files: The Files tab is where you can access and manage files shared within your teams. It provides a centralized location for file storage, allowing you to easily find and collaborate on documents.
Understanding the Menu Bar
- Activity: The Activity icon, located in the left-side menu bar, displays your recent notifications, mentions, and other activity within Teams. It helps you stay updated on important discussions and events.
- Chat: The Chat icon, also located in the left-side menu bar, takes you directly to your individual and group chats. It allows you to send instant messages, share files, and have private conversations.
- Teams: The Teams icon, located in the left-side menu bar, takes you to your Teams dashboard. It provides access to all the teams you are a part of, allowing you to switch between different teams and channels.
- Calendar: The Calendar icon, located in the left-side menu bar, provides an overview of your upcoming meetings and allows you to schedule new meetings, send invites, and manage your meeting settings.
- Calls: The Calls icon, located in the left-side menu bar, allows you to make and receive calls within Microsoft Teams. It also provides access to your call history, voicemail, and contacts.
- Files: The Files icon, located in the left-side menu bar, takes you to the Files tab. It provides easy access to all the files shared within your teams, allowing you to view, edit, and collaborate on documents.
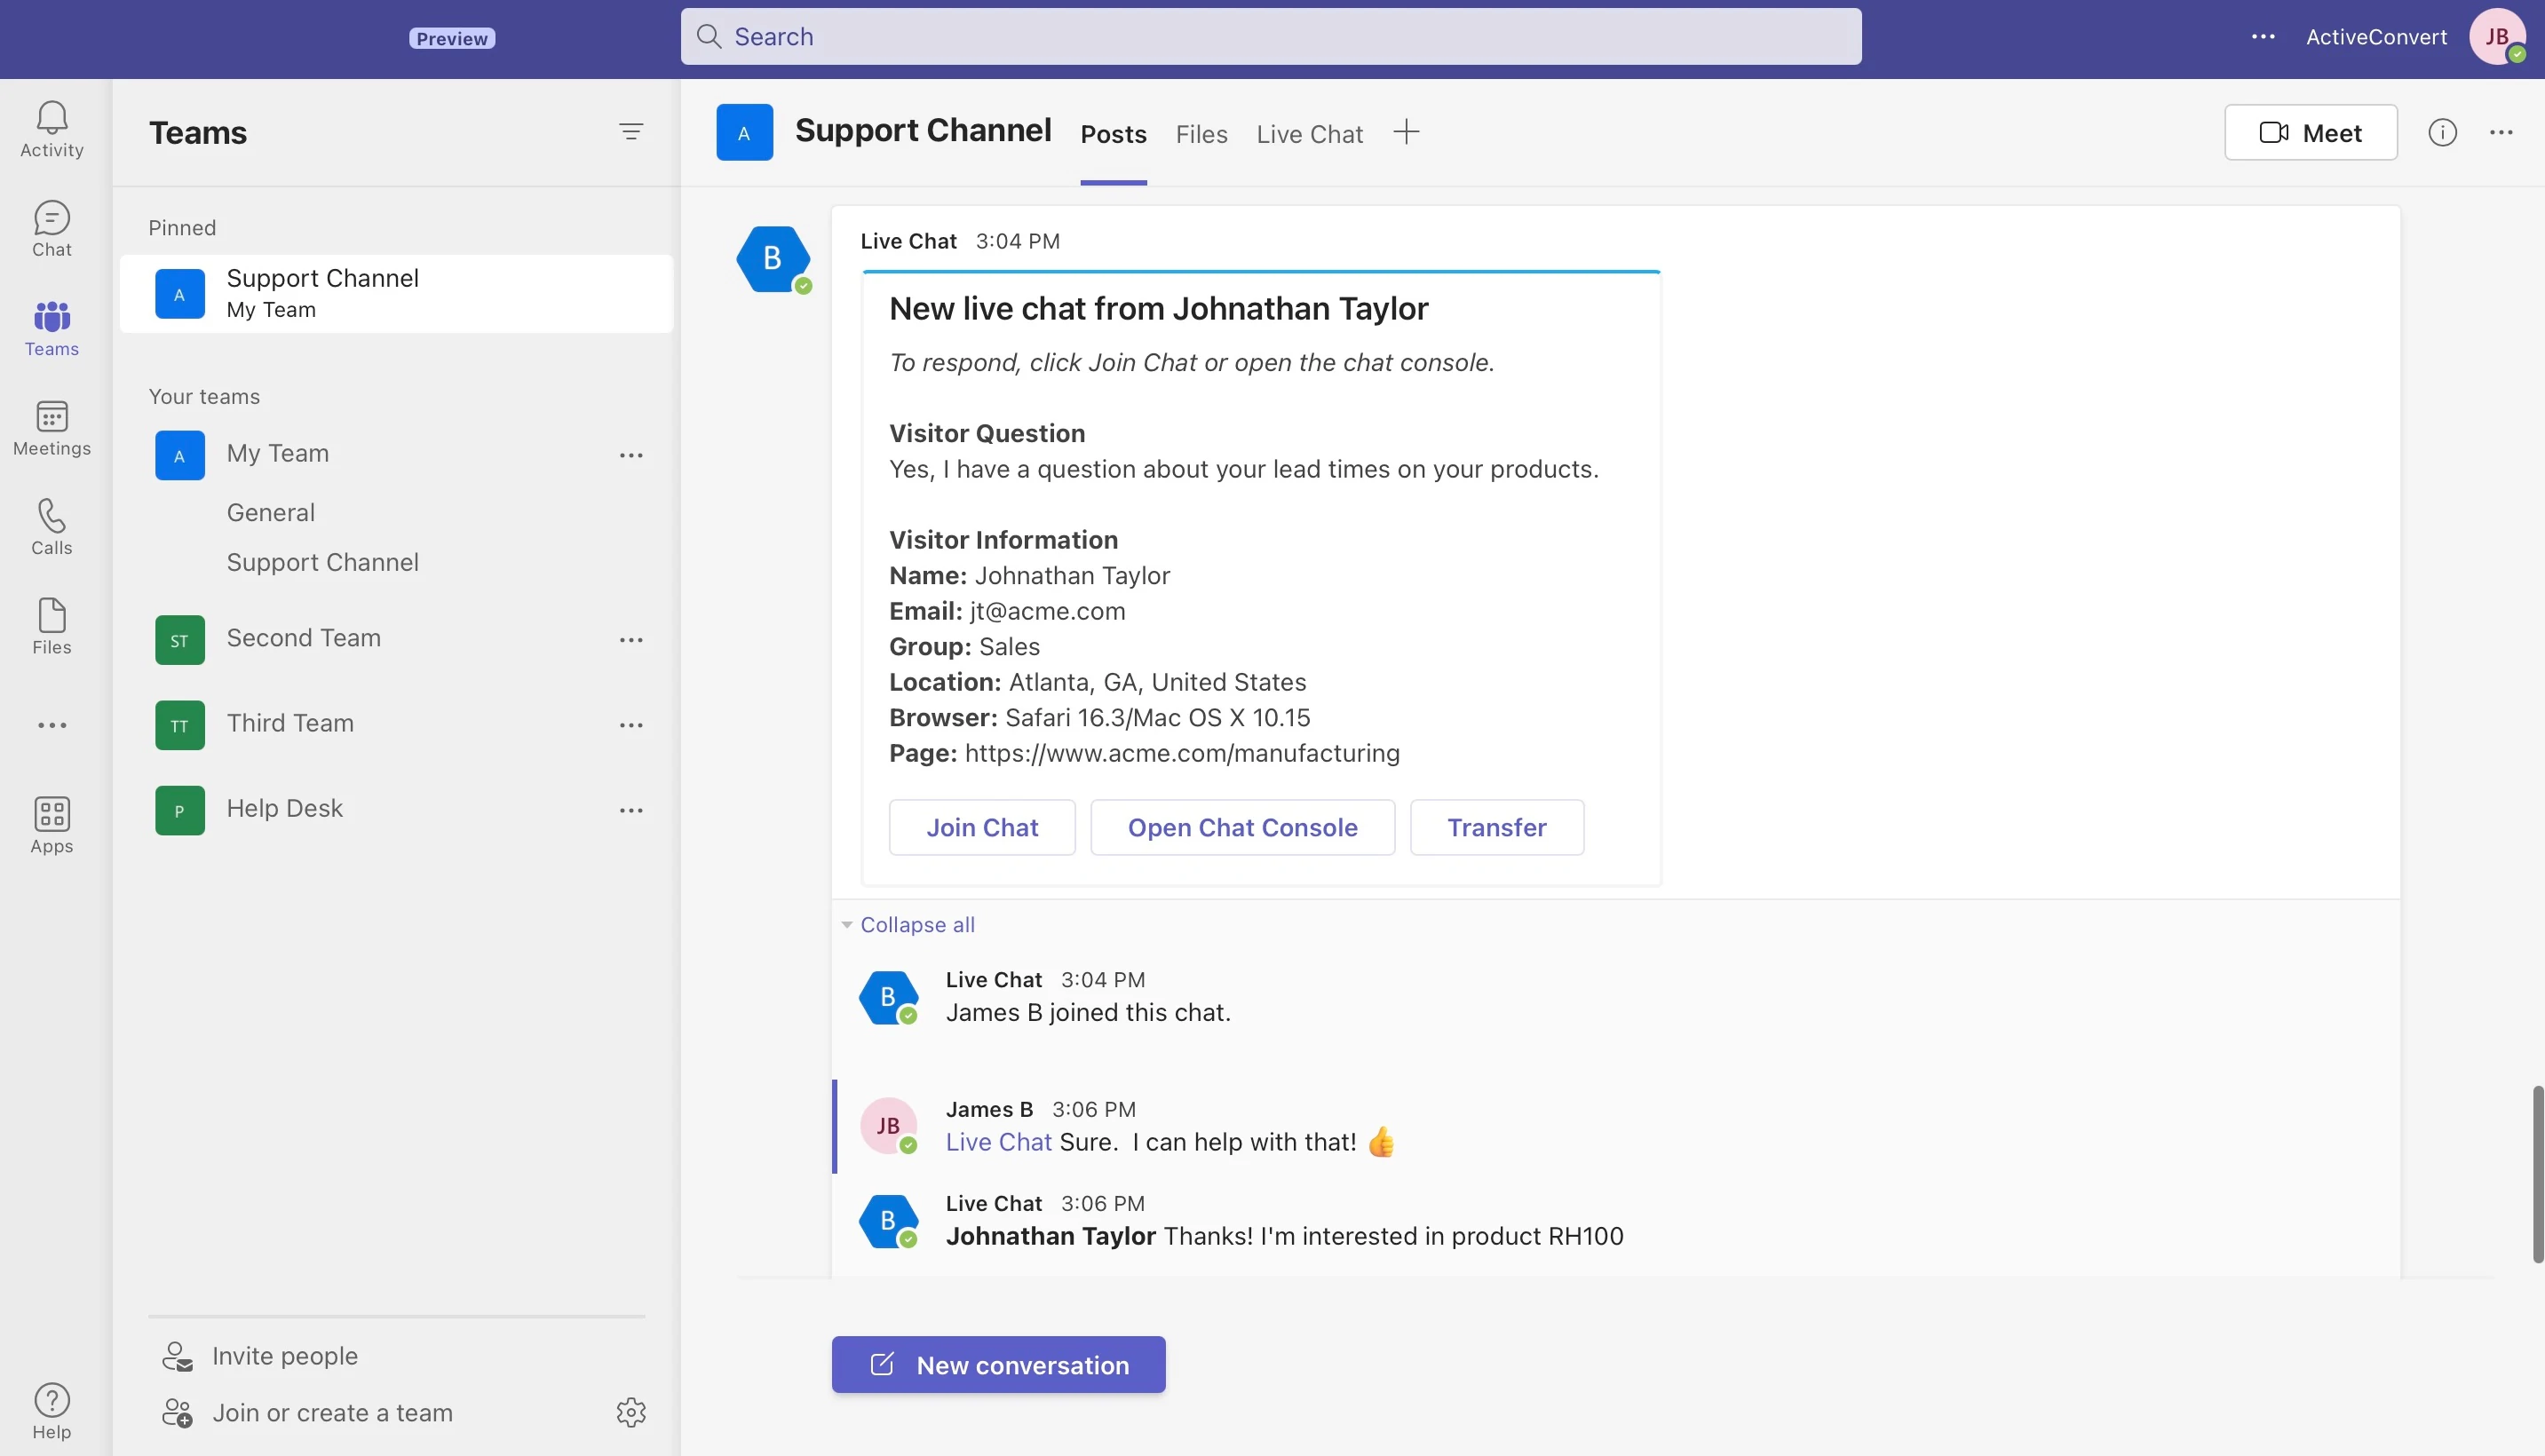
- Apps: The Apps icon, located in the left-side menu bar, takes you to the Apps tab. It provides easy access to the Microsoft Teams marketplace where you can find many 3rd party apps to enhance your Teams experience like Live Chat
Using the Search Function
The search function in Microsoft Teams is a powerful tool that helps you quickly find messages, files, people, and even specific channels within your teams. Simply enter your search query in the search bar located at the top of the interface, and Teams will display relevant results based on your search criteria.
By mastering the navigation of the Microsoft Teams interface, you can easily access the different sections, teams, channels, and features within the platform. In the next section, we will dive deeper into the various communication features available in Microsoft Teams, starting with how to use chat for direct messages.
Mastering Communication in Microsoft Teams
Mastering communication in Microsoft Teams is crucial for effective collaboration and seamless interaction with team members. In this section, we will explore the various communication features available in Teams and provide you with a comprehensive guide on how to utilize them to their fullest potential.
How to Use Chat for Direct Messages
- Starting a New Chat: To initiate a direct message, click on the Chat tab in the left-side menu bar. Then, select the “New Chat” button and enter the name or email address of the person you want to message. You can also search for the person in the search bar and select them from the results.
- Sending Messages: Once you are in a chat, simply type your message in the message box at the bottom of the chat window and press Enter to send it. You can also format your message using options like bold, italic, bullet points, and more.
- Attaching Files: To share files in a chat, click on the paperclip icon located below the message box. You can then choose a file from your computer or OneDrive, and it will be shared with the recipient.
- Reactions and Mentions: Teams allows you to react to messages with emojis to show your response. You can also mention someone in a chat by typing “@” followed by their name. This will send them a notification and make it easier for them to find the relevant message.
Creating and Managing Team Channels
- Creating a Channel: To create a new channel within a team, go to the Teams tab and select the team you want to add the channel to. Click on the ellipsis (…) next to the team name and choose “Add channel.” Enter the channel name, description (optional), and privacy settings, and click “Add.”
- Channel Conversations: Each channel has its own conversation tab where team members can discuss specific topics or projects. You can post messages, share files, and mention individuals or the entire channel to ensure everyone stays informed.
- Channel Notifications: By default, you will receive notifications for all activity within channels you are a part of. However, you can customize your notification settings by clicking on the ellipsis (…) next to the channel name, selecting “Channel notifications,” and choosing your preferred notification level.
Using Video Calls and Meetings
- Starting a Video Call: To initiate a video call with one or more team members, go to the Chat or Teams tab and select the person or team you want to call. Click on the video camera icon to start a video call. You can also add additional participants during the call.
- Scheduling and Joining Meetings: To schedule a meeting, go to the Calendar tab and click on the “New meeting” button. Fill in the meeting details, including the date, time, attendees, and agenda. Once the meeting is scheduled, participants can join by clicking on the meeting in the Calendar tab or through the meeting invitation.
- Sharing Screens and Presenting: During a video call or meeting, you can share your screen to present documents, slideshows, or other content. Click on the “Share” button at the bottom of the call window and choose the screen or window you want to share. You can also enable the “Presenter mode” for a more interactive presentation experience.
By mastering the communication features in Microsoft Teams, you can effectively communicate with team members, collaborate on projects, and conduct virtual meetings. In the next section, we will explore how to collaborate on projects using Microsoft Teams, including file sharing, task management, and integration with other Microsoft apps.
Collaborating on Projects using Microsoft Teams
Collaborating on projects is a key aspect of Microsoft Teams, allowing teams to work together seamlessly and achieve their goals efficiently. In this section, we will explore the various collaboration features offered by Teams and guide you on how to make the most out of them.
Sharing and Collaborating on Files
- Uploading Files: To share files within Teams, navigate to the Files tab in the channel or chat where you want to share the file. Click on the “Upload” button and select the file from your computer or OneDrive. Teams supports a wide range of file types, including documents, spreadsheets, presentations, and more.
- Co-authoring: Teams allows multiple team members to collaborate on files simultaneously. When a file is opened, click on the “Edit” button to enable co-authoring. You can see live edits made by others in real-time, facilitating seamless collaboration.
- Version History: Teams automatically tracks and saves different versions of files. To access the version history, select the file and click on the ellipsis (…) next to its name. Choose “Version history” to view previous versions and restore or download them if needed.
- File Organization: Teams provides options to organize files within channels using folders. Create folders to categorize files by project, department, or any other relevant criteria. This helps maintain a structured file management system and makes it easier to locate specific documents.
Using the Planner for Task Management
- Creating a Planner: To start using the Planner feature, go to the channel where you want to create a new Planner. Click on the “+” icon in the tab bar and select “Planner.” Give your Planner a name, description (optional), and choose whether it should be public or private.
- Adding and Assigning Tasks: Within a Planner, you can create multiple tasks and assign them to team members. Click on the “+” icon in the “To Do” column, enter the task details, and assign it to a team member. You can also set due dates, add descriptions, attach files, and set task labels.
- Tracking Progress: As tasks progress, you can update their status in the Planner. Use the different columns, such as “In Progress,” “Completed,” or create custom columns to match your workflow. By moving tasks across columns, you can visually track progress and ensure smooth task management.
- Notifications and Reminders: Teams sends notifications and reminders for upcoming task due dates, assignments, and changes in task status. This helps keep team members informed and ensures timely completion of tasks.
Integrating with Other Microsoft Apps
- Microsoft 365 Integration: Teams seamlessly integrates with other Microsoft apps like Word, Excel, PowerPoint, and SharePoint. You can create, edit, and collaborate on documents directly within Teams, leveraging the familiar Microsoft Office suite of tools.
- SharePoint Integration: Teams utilizes SharePoint as its underlying document management system. This integration allows for secure storage, version control, and easy access to files shared within Teams.
- App Integrations: Teams offers a wide range of third-party app integrations to enhance collaboration and productivity. You can integrate apps like Trello, Asana, Salesforce, and more, bringing external tools and resources directly into your Teams environment.
By leveraging the collaboration features in Microsoft Teams, such as file sharing, co-authoring, task management with Planner, and integration with other Microsoft apps, you can enhance teamwork, streamline project workflows, and achieve greater productivity. In the next section, we will share some valuable tips and tricks to optimize your Microsoft Teams experience.
Tips and Tricks for Using Microsoft Teams
To enhance your Microsoft Teams experience and make the most out of its features, we have compiled a collection of valuable tips and tricks. These tips will help you navigate Teams more efficiently, customize your workspace, and manage notifications effectively.
Keyboard Shortcuts
- Ctrl + N: Start a new chat.
- Ctrl + Shift + M: Start a new meeting.
- Ctrl + E: Go to the search bar.
- Ctrl + 2: Go to the Chat tab.
- Ctrl + 3: Go to the Teams tab.
- Ctrl + 4: Go to the Calendar tab.
- Ctrl + 5: Go to the Calls tab.
- Ctrl + 6: Go to the Files tab.
- Ctrl + Shift + A: Accept an incoming call.
- Ctrl + Shift + D: Decline an incoming call.
These are just a few examples of the many keyboard shortcuts available in Microsoft Teams. Familiarize yourself with these shortcuts to navigate the interface more efficiently and save time.
Customizing Your Workspace
- Pin Important Chats and Channels: Right-click on a chat or channel and select “Pin” to keep it at the top of your list. This is useful for prioritizing important conversations and channels.
- Change Theme and Background: Go to your profile picture in the top-right corner and select “Settings.” Under the “General” tab, you can choose a different theme and background for your Teams interface.
- Adjust Notification Settings: Click on your profile picture, select “Settings,” and go to the “Notifications” tab. Here, you can customize your notification preferences, including sounds, banners, and the frequency of notifications.
- Use Activity Feeds and Filters: In the left-side menu bar, click on the Activity icon to access your activity feed. Use filters at the top to view specific types of activity, such as mentions or likes.
Managing Notifications
- Set Do Not Disturb (DND) Status: Click on your profile picture and select “Set status message.” Set your status to “Do Not Disturb” to temporarily suppress notifications and maintain focus.
- Mute Individual Chats or Channels: Right-click on a chat or channel and select “Mute,” or click on the bell icon next to the chat or channel name. This will silence notifications for that specific conversation or channel.
- Use Priority Access: In the notification settings, you can set up priority access, allowing notifications from specific people or keywords to always reach you, even if you have enabled “Do Not Disturb” mode.
By utilizing these tips and tricks, you can optimize your Microsoft Teams experience, personalize your workspace, and effectively manage notifications to stay focused and productive.
Congratulations! You have now mastered the essential features and functionalities of Microsoft Teams through our comprehensive cheat sheet. Whether you are a beginner or an experienced user, these insights will empower you to collaborate seamlessly, communicate effectively, and achieve your goals within Teams. Happy collaborating!
